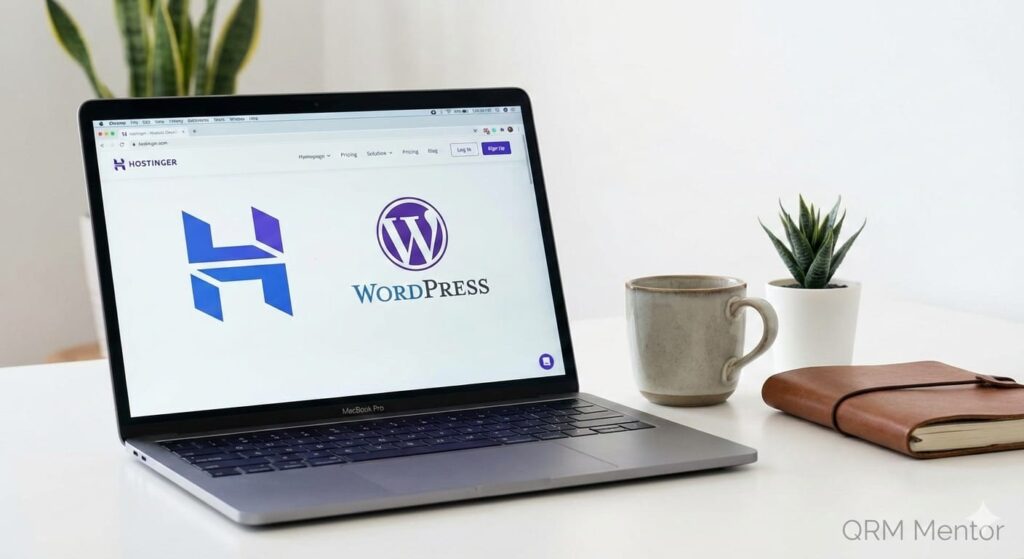
If you want to do a WordPress installation on Hostinger in 2026, this step-by-step guide is for you. In today’s digital world, building a professional online presence is no longer optional—it’s essential. If you’re planning to launch your first website, installing WordPress on Hostinger in 2026 is one of the most reliable, beginner-friendly, and cost-effective ways to get started.
This comprehensive guide walks you through the entire WordPress installation process on Hostinger, breaking down each step so even absolute beginners can follow along with confidence—no technical background required.
Why Hostinger Hosting Plans Offer a Free Domain for New Users
Before starting your WordPress setup, it’s important to understand hosting. Think of hosting as the land where your website lives. Without it, your website cannot exist online.
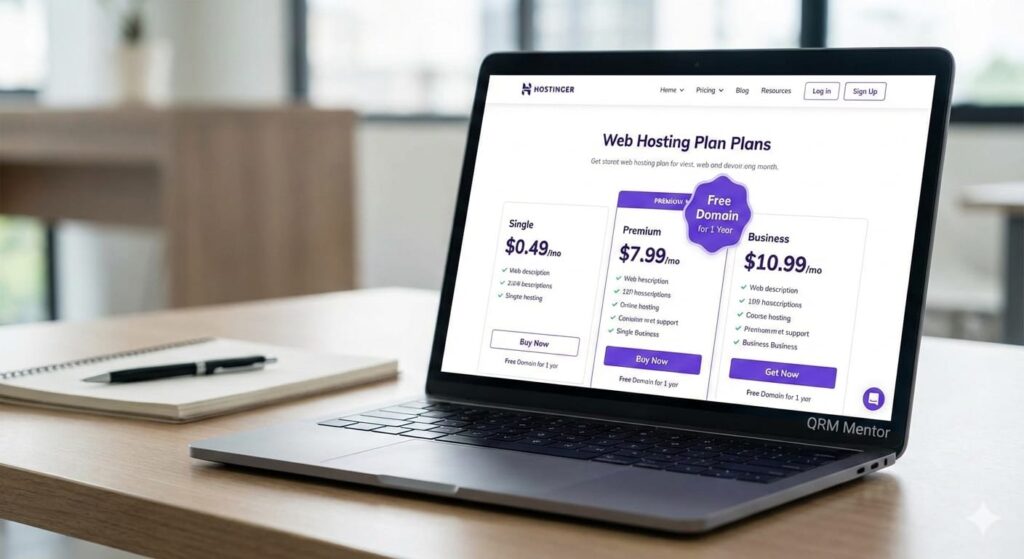
One of the biggest advantages of choosing Hostinger is that its hosting plans include a free domain for the first year when you opt for long-term plans. This significantly reduces startup costs for beginners.
While Hostinger offers a free domain with 12-month plans, choosing a 4-year hosting plan is the smartest long-term decision. It locks in the lowest pricing, protects you from renewal price increases, and provides stability for your website’s growth. This means more budget can be allocated toward content creation, SEO, and marketing instead of recurring setup expenses.
Step 1: Choosing the Right Hosting Plan for WordPress Installation on Hostinger
When starting your WordPress installation on Hostinger, you’ll notice multiple hosting tiers. For beginners and educational websites, the Basic or Single WordPress Hosting plan is more than sufficient.
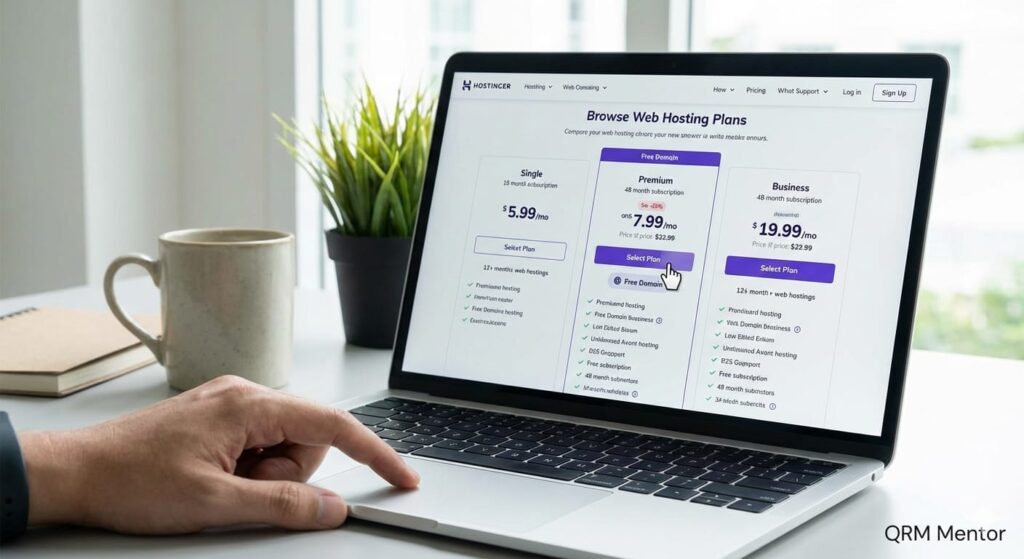
These plans provide:
- One-click WordPress installation
- Free SSL certificate
- Fast SSD storage
- Free domain (with long-term plans)
Once your hosting plan is purchased, Hostinger automatically prepares your account and guides you toward the WordPress setup wizard.
Step 2: Accessing the Easy WordPress Installation Wizard
Hostinger is popular because of its Easy WordPress installation process, designed for users with no technical experience.

For new users, the WordPress setup wizard launches automatically after purchase.
For existing users:
- Log in to your Hostinger hPanel
- Go to Websites
- Click Add Website
- Select WordPress
This ensures that installing WordPress on Hostinger takes only a few clicks, regardless of your experience level.
This guide is based on hands-on testing of Hostinger’s hPanel interface and multiple WordPress installations performed for beginner and educational websites in 2026.
Step 3: Configuring Essential Website Details
During the setup process, you’ll be asked to enter key website information. This step plays a critical role in securing your WordPress site.
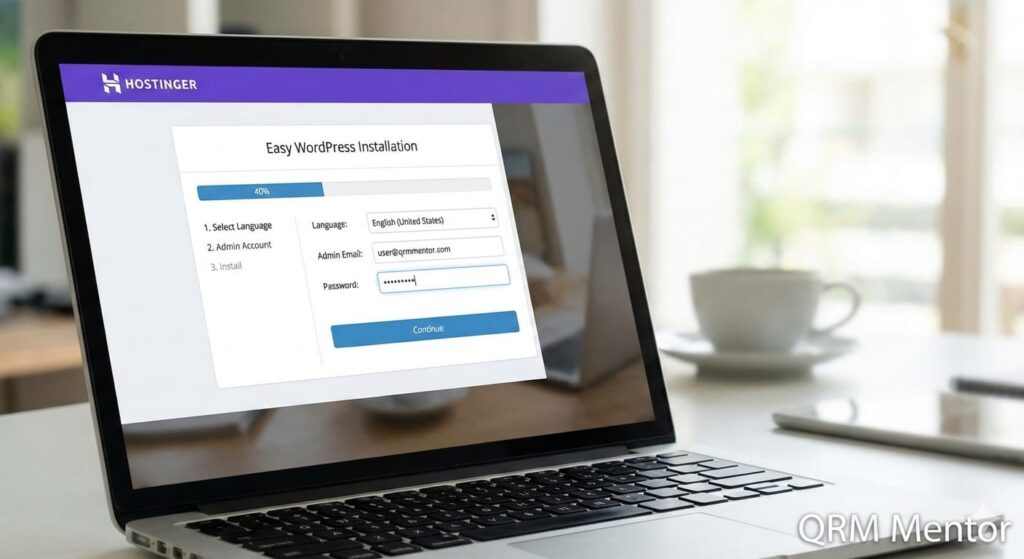
Required Settings:
Dashboard Language
Choose your preferred language
Administrator Email
Used for updates and security notifications
Administrator Password
Your main access key to WordPress
Creating a strong password is essential. It’s highly recommended to store it in a secure password manager. Strong security from day one is a best practice for WordPress beginners.
Essential Advice for WordPress Beginners
Once credentials are set, you’ll be asked about your website’s design. Beginners often hesitate here, but WordPress makes this step easy.
You’ll have two choices:
- Start with a blank website
- Use a pre-built WordPress theme
For most users, choosing a pre-built theme is strongly recommended.
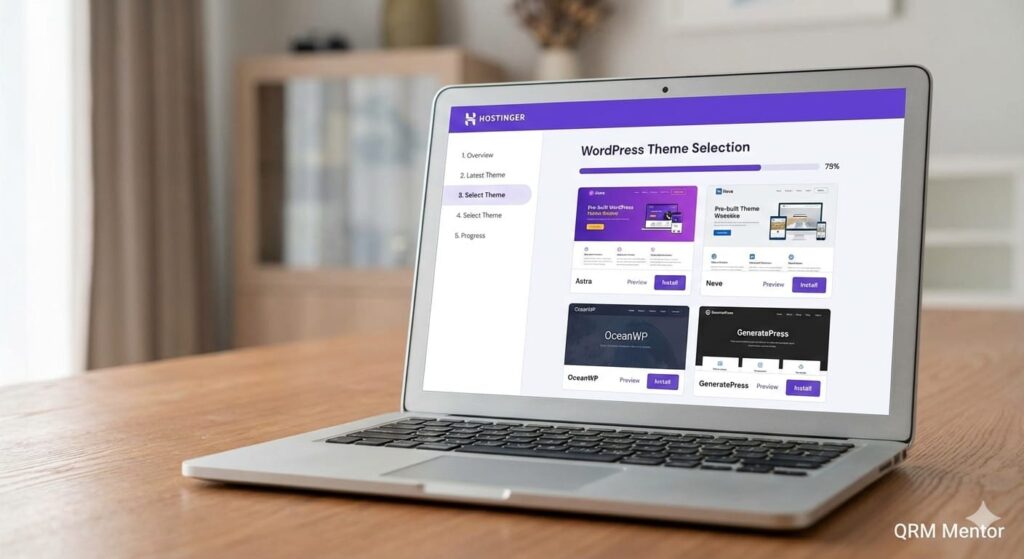
It gives your site a professional layout instantly and allows you to focus on content instead of design complexities. This approach speeds up the launch process and ensures a polished look from day one.
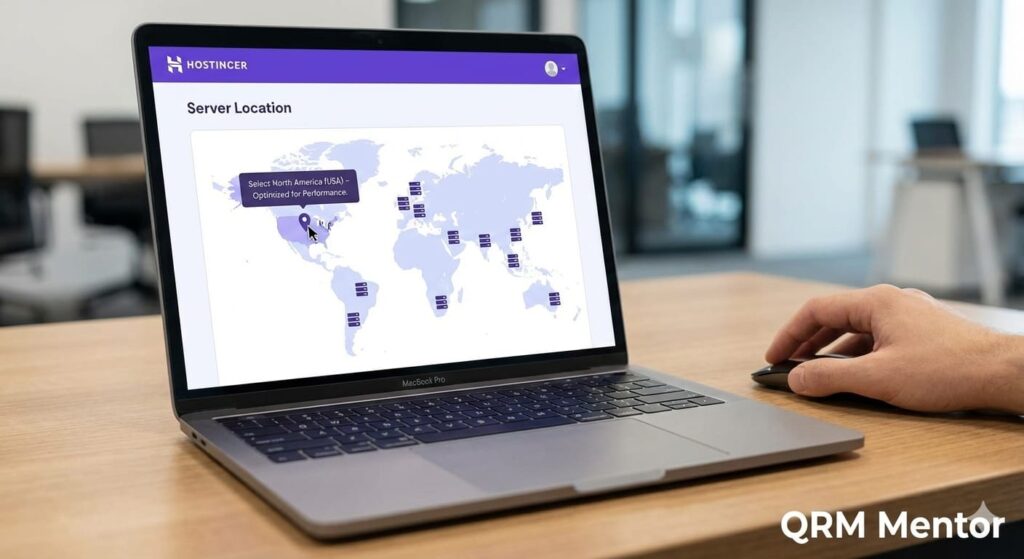
Step 4: Performance Optimization and Server Selection
Before completing the WordPress installation, a few important performance settings appear.
Start with a Clean Slate
The setup wizard may suggest installing extra plugins. For beginners, it’s best to skip optional plugins initially. This keeps your website lightweight and fast. You can always add plugins later as your site grows.
Choose the Right Server Location
Selecting a server location close to your target audience significantly improves website loading speed. Faster websites rank better on Google and offer a smoother user experience.
Step 5: Finalizing the WordPress Installation on Hostinger
After confirming your settings, click Install WordPress. Hostinger’s automated system takes over, handling database creation, file setup, and configuration in the background.
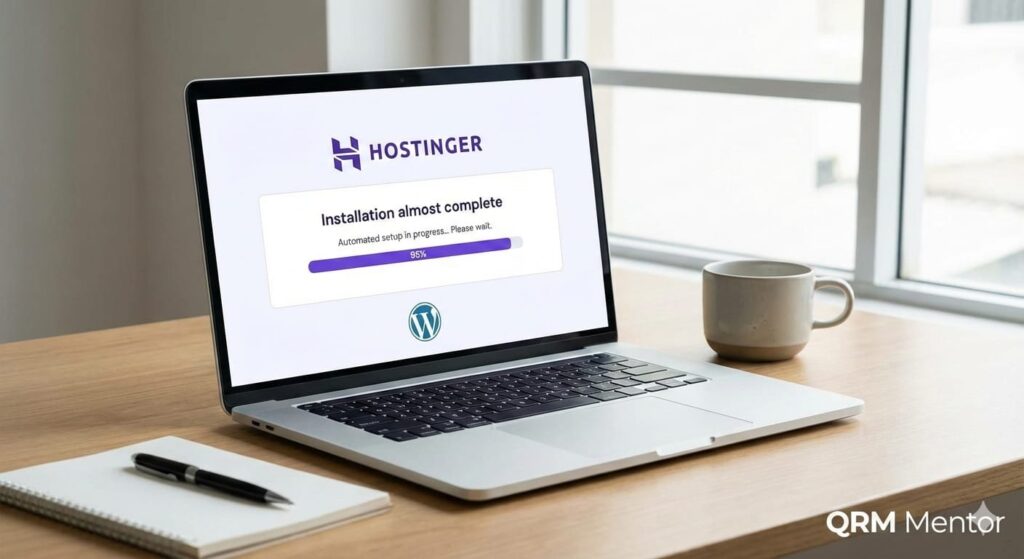
The entire process usually completes within a few minutes. Once finished, you’ll gain access to your WordPress dashboard, which acts as the control center of your website.
Step 6: Exploring Your New WordPress Dashboard
With your WordPress installation on Hostinger complete, it’s time to explore the dashboard.
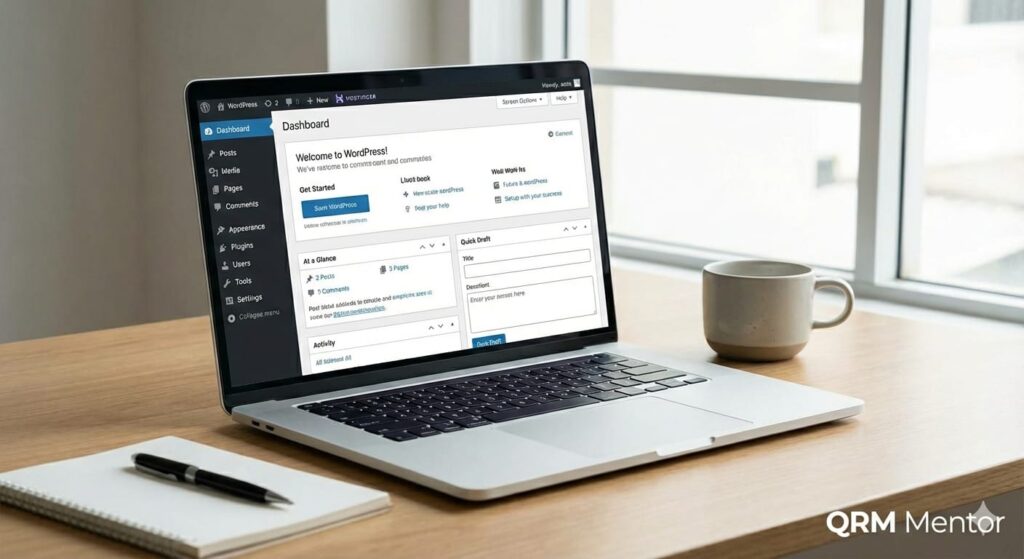
Key Areas to Know:
Posts & Pages
Create blog posts and static pagesCreate blog posts and static pages
Media Library
Upload images and videos
Appearance
Customize themes and layouts
Plugins
Extend functionality as needed
Although the dashboard may seem overwhelming at first, it’s logically structured to support beginners. You can preview your live website anytime by clicking Visit Site from the top menu.
Frequently Asked Questions About WordPress Installation on Hostinger
Is WordPress installation on Hostinger free?
Yes. Hostinger offers a free WordPress installer with all hosting plans.
How long does WordPress installation take on Hostinger?
Typically between 2 to 5 minutes using the automatic setup wizard.
Can beginners install WordPress without technical skills?
Absolutely. Hostinger’s Easy WordPress installation is built specifically for beginners.
Which Hostinger plan is best for beginners?
Single or Premium WordPress Hosting plans are ideal. Long-term plans also include a free domain for the first year.
Conclusion: From Setup to Online Success
Completing your WordPress installation on Hostinger in 2026 is the foundation of your digital journey. By choosing a long-term hosting plan with a free domain, you’ve made a smart investment in your website’s future.
You now have a fast, secure, and scalable platform ready for content creation, SEO optimization, and growth. Whether you’re a blogger, business owner, or learner, WordPress for beginners on Hostinger provides a smooth and reliable path to online success.
Remember, an Easy WordPress installation is just the beginning—the real opportunity lies in what you build next.
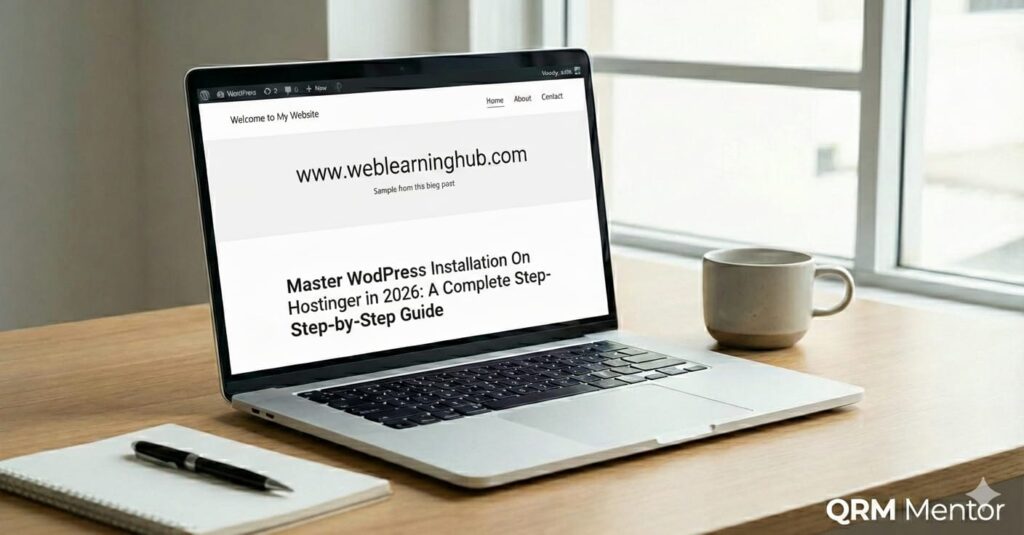
If you want to learn more about WordPress, check out our WordPress tutorials on WebLearningHub.com.